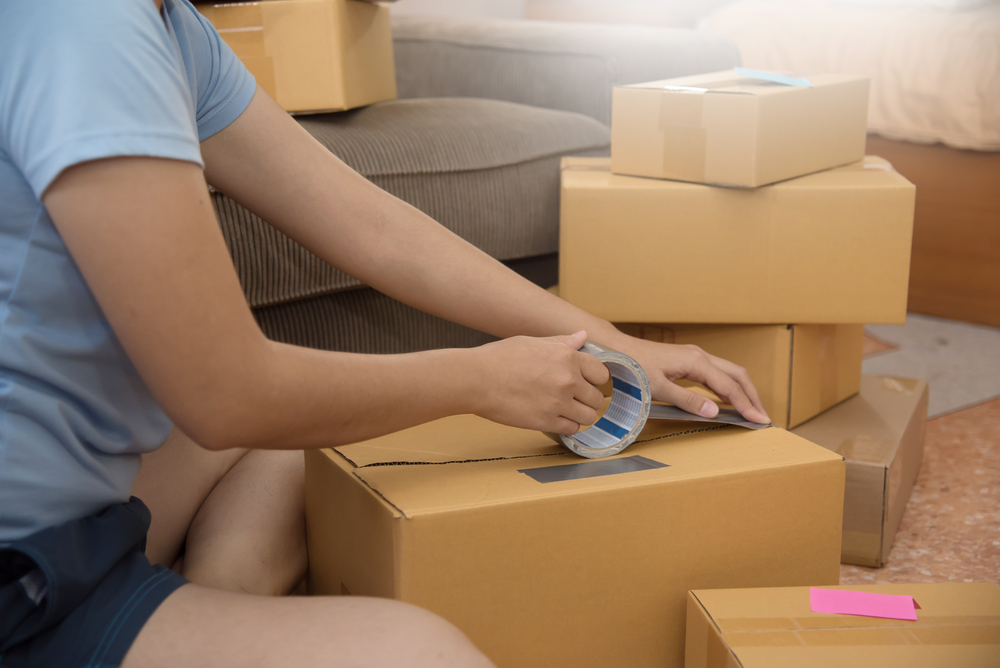
How To Make a Packaging Box
Packaging boxes are an essential for businesses that deal with the physical product. Whether you manage an online business or not, your products would need to be shipped from one place to the other; sometimes from the wholesaler to the retailer, and sometimes directly from the manufacturer to the customer.
Many home-based business owners find it hard to get appropriate packaging for their products. They are on the lookout for packaging that can provide protection to their product and is also the right size.

Having the right sized box means you have to spend less money on stuffing and other things that need to go into the box to fill it up and to provide ample cushioning. Having the right sized box also decreases the weight and the size of the shipment, which means business owners have to pay less for postal and shipping services. There are some of the many reasons why a home-based business owner may decide to go for custom packaging that they can make on their own.
If you wanted to know how you can create your own packaging box or folding carton, you have come to the right place. In this article, we are going to provide you with some basic instructions that will help you make your own packaging box. When you know how to make the basic structure, you can make any sort of box, whether it is a shipping box, a gift box or any other kind of packaging box. So let’s see how we can do this!

Things You Will Need:
• A piece of Cardboard (better to get an old carton you can recycle)
• A box cutter or a set of heavy duty scissors
• Packaging tape set inside a dispenser to provide ease and speed
• Measuring tape
• A4 Paper

Step By Step Instructions:
1. Take the old carton that you have and start breaking it down by opening the sides and the glue. Use your cutter to help you do this. Our target is to end up with a piece of the flat cardboard sheet. First, you should open the bottom of the box and then split open one side only. This will help you open the complete box and unfold it.
2. Now measure your product and see what length, breadth, and width you need for your box. One way is to measure it using a measuring tape. Another way is to lay your item flat on the cardboard sheet and increase one inch in dimensions from all around the product. Mark these dimensions with a pencil so you know the extent of your box net.
3. If you want, you can print out a box net for reference so you know where to place the tabs and the folds.Once you have made the tabs and the folds with the reference of the image, or through placing the product on the cardboard sheet, now is the time to fold the packaging box and secure it with the help of the duct tape. First of all, you should secure the bottom and then the sides.
4. Finally, place the product inside the box and close it off, topping off with duct tape for added security. You can add labels so your customers know the important re-order information or contact information. You can also order customized packaging boxes from The Custom Boxes.

They can make boxes according to the size and shape of your products. This will help you gain the professional look you want, and also reduce the size and weight of your package. Try them and out and see the benefits of custom designed packaging translated in the form of a higher sales volume!